After I had implemented phone notifications to update me whenever something new is added to my Plex server (blogpost), I started thinking about other ways to keep me notified, preferably something that didn't involve a phone.
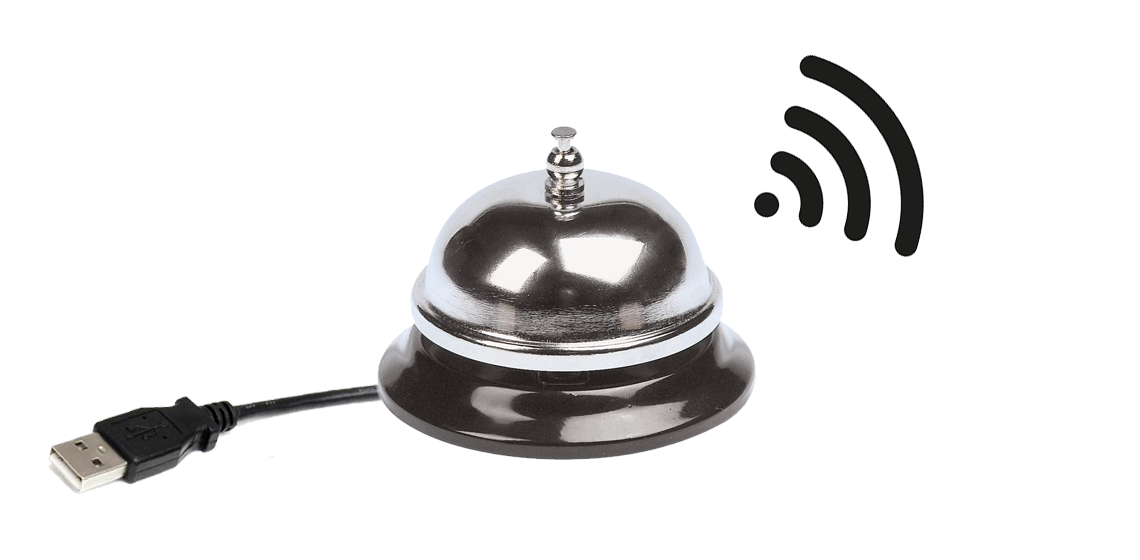
A short "tinggg" is a perfect indication that something has been done, so I started looking for reception bells and how to automate them.
I found a blogpost by Aaron Parecki in which he describes exactly the thing I had in mind! He uses his automated bell for Kickstarter pledge alerts, so that's more or less the same use case. I also found a video by Jeff Geerling, in which he builds a 'bell slapper'.
I wanted my bell to (1) still be completely usable, (2) have no overly noticable changes. Jeff Geerlings solution failed to meet both requirements. Aaron Parecki's solution only met the first, but still requires a huge box on which the bell is mounted. If I could lose the box it'd be perfect.
Hardware
I always strive to use the cheapest possible c.q. most suitable hardware for the job. A Raspberry Pi, essentially a full-fledged computer, for simply ringing a bell is complete overkill. That said, I don't really have much of a choice, because of the size requirement; my goal is to fit everything inside the bell itself.
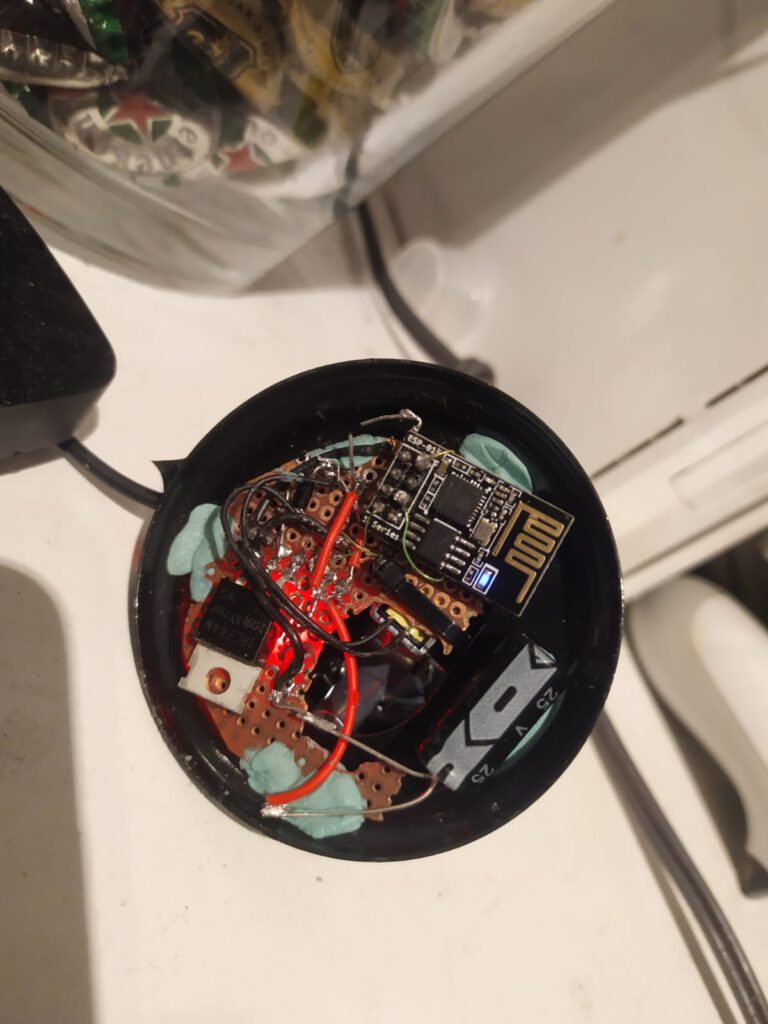
Instead of an RPi I went for the legendary ESP-01s, which is about the size of a coin. Below is a complete overview of the parts I used (excl. solder, wires etc). Additionaly, I'd like to point out that 36AWG wire (really really thin) is very useful in combination with the ESP-01 board. If you don't have enough space for headers, you can hook up your ESP with those thin wires and still be able to plug it into your USB programmer.
- ESP-01s
- Reception bell
- 5V Push-pull solenoid
- 5V-3.3V DC-DC Step down converter
- IRLZ44N MOSFET
- 3x 1000µF capacitor
- Phone charger
- 1N4007 diode
- 1kΩ resistor
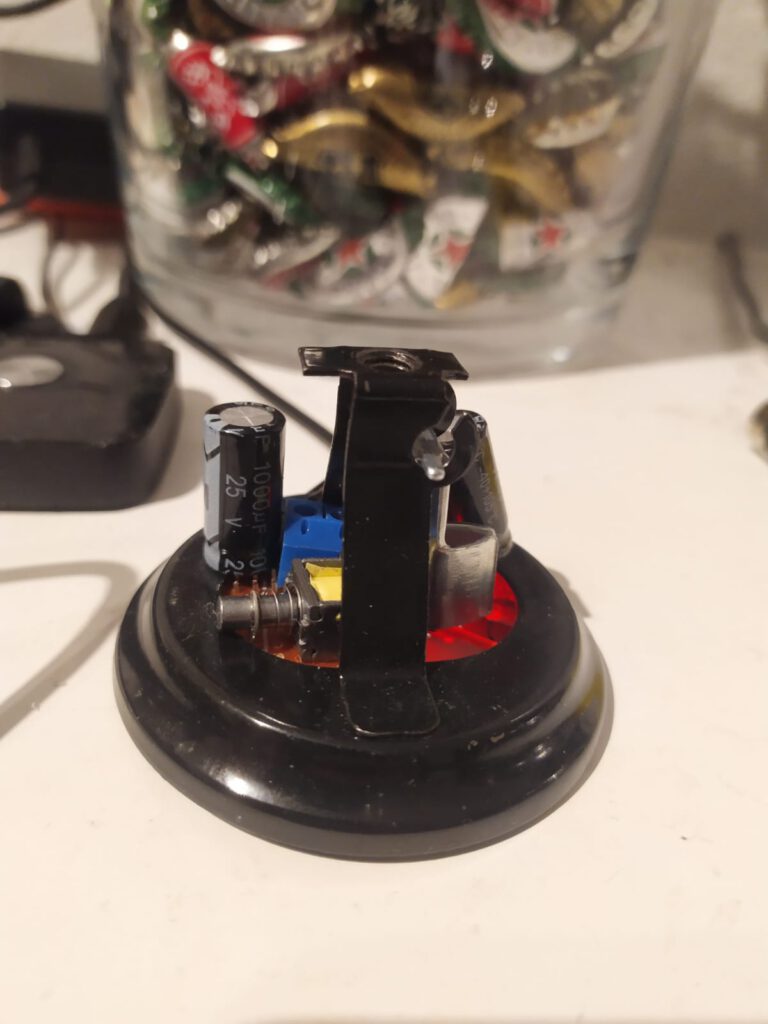
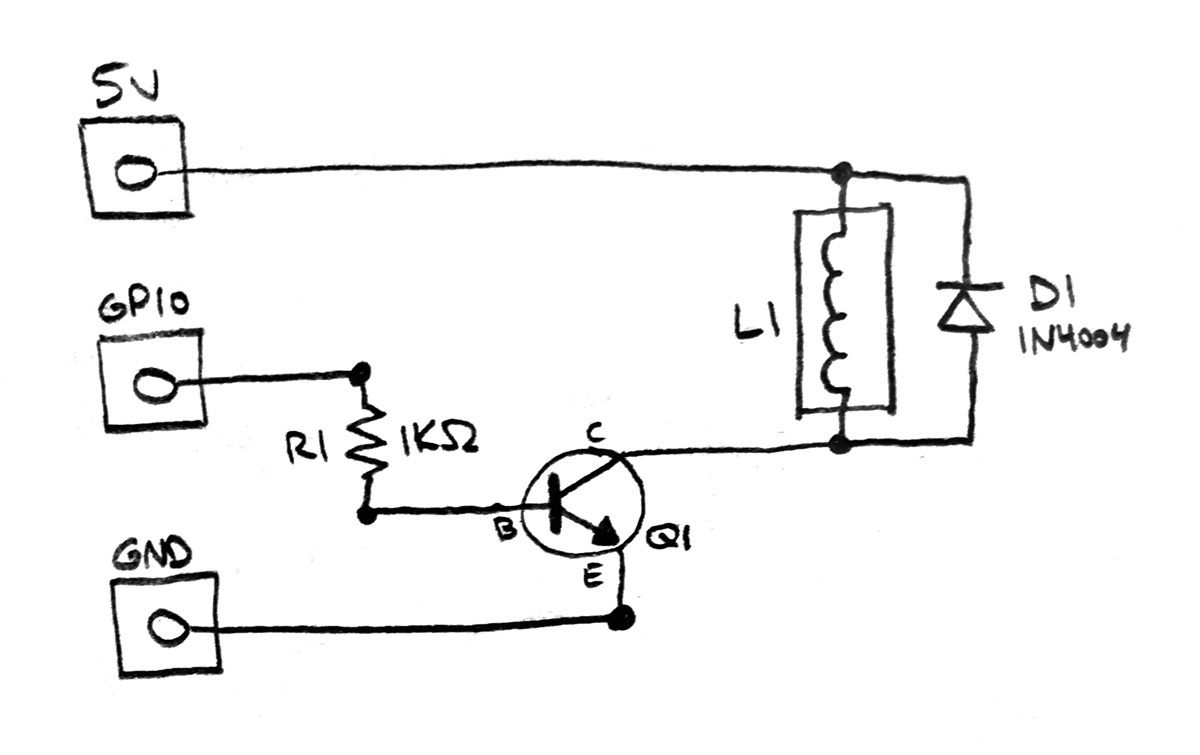
As for the circuit, I hooked it up the same way as Parecki. The ESP-01s got its power from the step down converter. Don't forget to add the flyback diode, which prevents the GPIO from being damaged.
While testing the bell with my bench supply, I hadn't included capacitors and everything worked fine. I only found out after testing with a phone charger (rated 2A) that suddenly the solenoid didn't have enough power to ring the bell. This is because a phone charger cannot provide enough inrush current at once. To tackle this, I added three 1000µF capacitors in parallel between 5V and GND. It barely fitted, but it worked.
Software
The software that's driving the bell is very straightforward. As most of my projects, it includes the WiFiManager library, which creates a captive portal to set up your WiFi credentials. It also makes use of MQTT (PubSubClient). Using this protocol everything is updated directly and there is no need for polling. If something new is added to my Plex server, the bell will ring instantenously!
Note that MQTT is of course not required. It is also possible to run a webserver, or poll some website directly. I personally like connecting all my devices to my home network using MQTT, because it makes it easier to control everything centrally.
The full code is publicly available.
Result
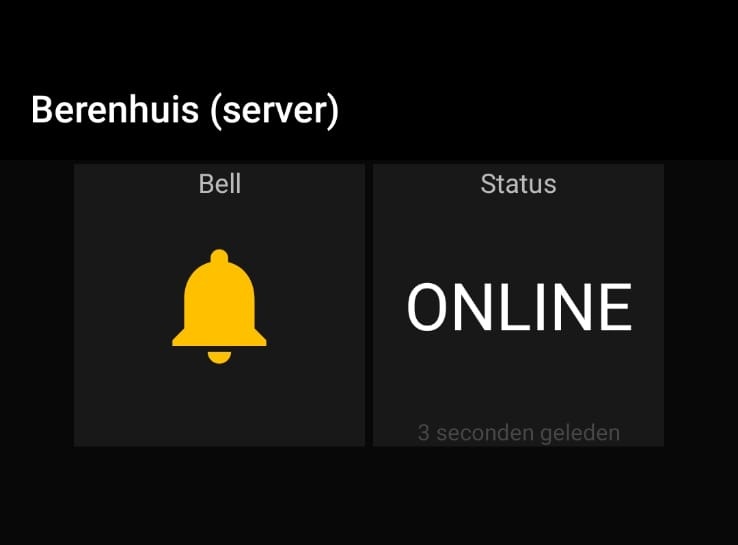
Just for fun, I wanted the option to control the bell easily by phone (primarily to annoy my roommates hehe). For that purpose, I used MQTT Dash, which is a free Android app that enables you to create a dashboard to send / retrieve MQTT messages.
I filled in my broker's details and hooked up a button block to publish "tring" to bell/input (that's the command the bell listens for) and a text block to subscribe to the connection/bell topic (which then displays '0' as "OFFLINE" and '1' as "ONLINE").
At last, I hooked the bell up to my exisiting Node-RED flow that handles the notifications for new media on my Plex server. The red box in Figure 3 indicates the flow that is responsible for the bell.

You can see the final product in action below!
Great write up. It was easy to read and your explanations behind your design decisions were useful. I also like how you managed to fit it all in existing bell “housing” and avoided overkill design choices. Was there enough room in there to fit a lipo to make it truly wireless?
Hi! Thanks for your comment!
Adding a LiPo battery to the mix would be certainly possible. The whole thing could be made more efficient in terms of space if we’d use a custom PCB. In that case we’d lose all the wires which add to the thickness. Also, there would be no need anymore for the power terminals. And more importantly, maybe you could lose one of the capacitors when switching from phone charger to LiPo, so you’d end up with way more space. The smaller LiPo batteries (150 – 250 mAh) then could fit.
In my case, I made the bell to be a notifier. The notification has to be instant, so the ESP has to be connected to WiFi all the time. There are certainly improvements in energy consumption you could make (e.g. removing the LEDs), but truth of the matter is that you’d be forced to replace / charge the battery every few hours. So that was the main reason I just went for the power cable.
If the bell would be more passive, e.g. only sending a message when someone pushed it, then batteries would be a more attractive option in my opinion.